If you are a registered developer Apple sent you an email reminding you to update your app to implement Dark Mode. There is a WWDC session dedicated to that, this post is a quick introduction to the topic with an example on how to implement a theme manager in your app.
I think it is great to give users a choice, so instead of just adopting the system defaults we can give them the option to have a light theme, a dark one or to adapt to the system settings. This way you’ll be able to offer a dark theme eve to users not willing to chose dark mode for the whole system, or maybe you’re app looks great in light mode and it is better to leave it white even if you love dark mode. Twitter now offers a dark mode based on the time of day, so I can have it dark at night and light during daytime.
But enough of that, you came here to read about adopting dark mode so let’s see how to do it in Swift and in Xcode.
As usual I have all the code for this post available on GitHub
System colors
If you use the system colors throughout your app chances are you’re pretty much ready to dark mode. UIKit will automatically do the right things, and that’s true for SwiftUI as well.
There are many colors you can chose from, some of them are marked as secondary or tertiary colors so you can use them for less important parts of the UI, while the primary ones are meant to be used for titles or important informations you need to be clearly visible. As I said, if you use those colors you’re good to go, as iOS will take care of everything for you. This works with NSAttributedString as well, if you set foreground or background color to a system one you’ll see the correct color automatically.
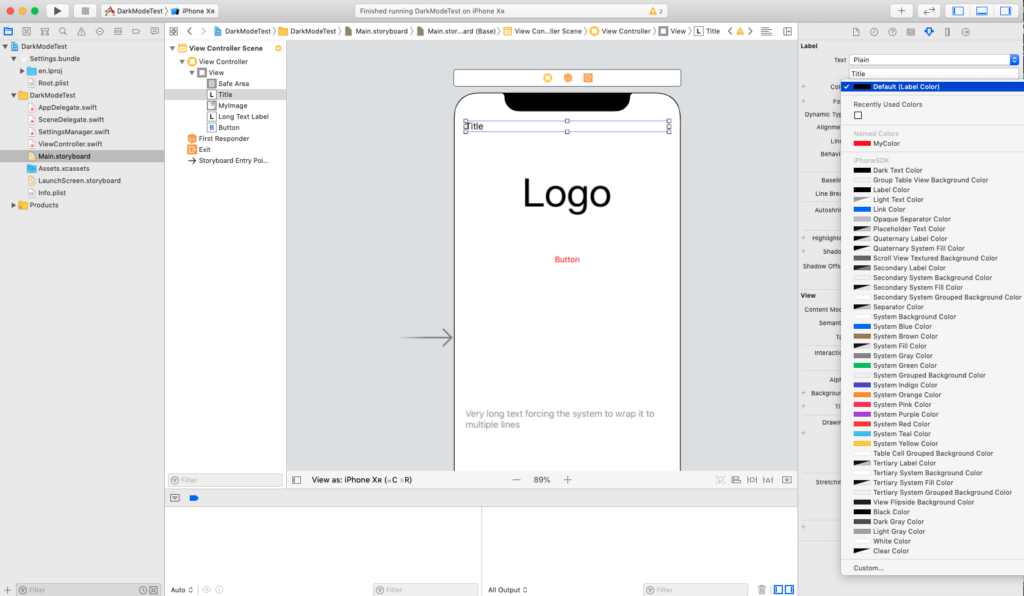
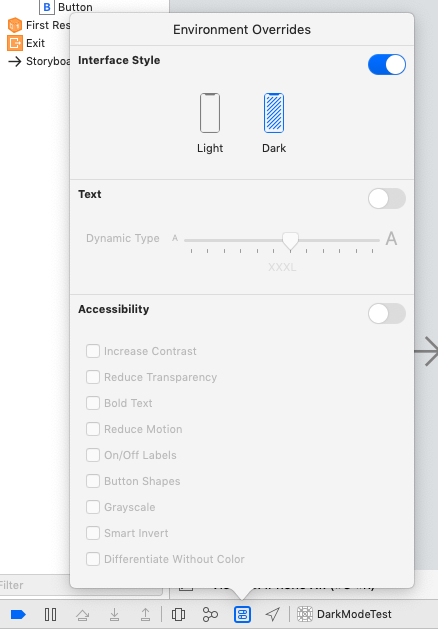
Here’s a tip, if you want to test your app in light and dark mode use the environment override to toggle between them. This is great to test accessibility too, as you can change the font size, select bold text etc.
The asset catalog
As long as you can use system colors there is no need to customise anything. But what if you have a custom color, or if you have images and you want to display a different one in dark mode?
The Asset catalog now gives you the possibility to specify a different image, or a different color, for light, dark and any appearance.
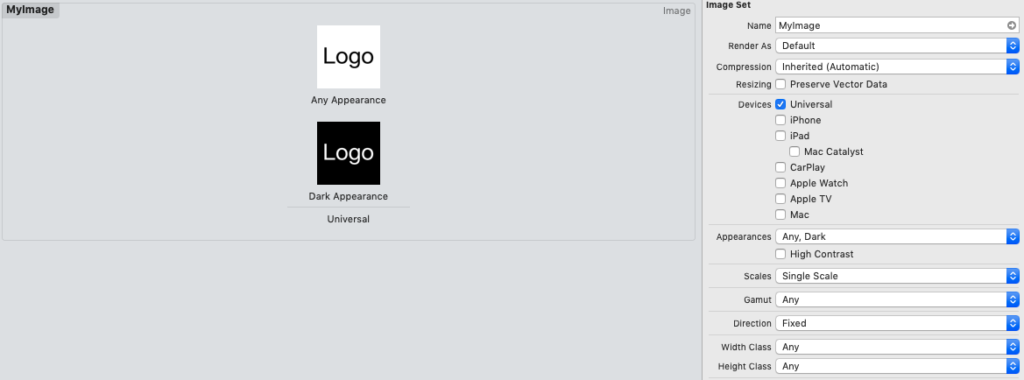
To add a new image, or color, for dark mode just change the value of Appearance to Any, Dark so you’ll be able to set a different image for Dark mode.
If you use the asset catalog the system will pick the right color/image for you, just as it does for the system colors.
Dark mode in code
So far so good, Xcode is helping us a lot with Dark mode and that’s great. But what if we want to have a little more control?
The goal is to give users a choice, so let’s see how we can override the system settings by forcing our app to be light or dark.
I created a SettingsManager class to be a wrapper around UserDefaults that could be easily adapted to a custom settings screen. The settings are Light, Dark and System, in order to force Light mode, Dark mode or implement the system default.
class SettingsManager {

    var delegate:SettingsManagerDelegate?

    init(withDelegate delegate:SettingsManagerDelegate) {
        self.delegate = delegate
        let appDefaults = [String:AnyObject]()
        UserDefaults.standard.register(defaults: appDefaults)

        NotificationCenter.default.addObserver(self, selector: #selector( self.defaultsChanged), name: UserDefaults.didChangeNotification, object: nil)

    }

    func getCurrentTheme() -> Theme {
        let defaults = UserDefaults.standard
        let themeInt = defaults.integer(forKey: "theme")
        return Theme(rawValue: themeInt) ?? Theme.System
    }
}

extension SettingsManager {
    @objc private func defaultsChanged(notification:NSNotification) {
        delegate?.updateTheme(newTheme: getCurrentTheme())
    }
}
As you can see I added an observer to NotificationCenter to every time the settings change I can get the notification and pass it to the delegate, my main view controller.
extension ViewController: SettingsManagerDelegate {
    func updateTheme(newTheme: Theme) {
        switch newTheme {
        case .Dark:
            overrideUserInterfaceStyle = .dark
        case .Light:
            overrideUserInterfaceStyle = .light
        case .System:
            overrideUserInterfaceStyle = .unspecified
        }
    }
}
overrideUserInterfaceStyle is a new property that allows us to override the system default. Setting it to unspecified disable the overriding and give us the system setting.
The observer notifies us about the changing of our app settings, but what about the system? If you need to know when the system has gone dark (or light) you can implement traitCollectionDidChange
override func traitCollectionDidChange(_ previousTraitCollection: UITraitCollection?) {
        let isDarkMode = traitCollection.userInterfaceStyle == .dark
        print("traitCollectionDidChange: isDark = \(isDarkMode)")
    }
I recommend watching the video I linked before, as there are more advanced examples. This was a quick overview, hopefully sufficient to help you support Dark Mode. Happy coding!